- Categories
- Brands
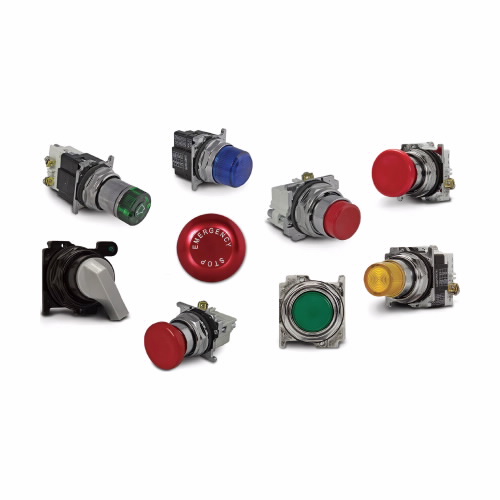
Eaton E29 Series pushbutton lenses are used in stationary machinery & equipment outside the factory. These indicating glass lenses are used with indicator lights, LEDs or incandescent bulbs for emitting light to indicate the status of the equipment.
 A
A B
B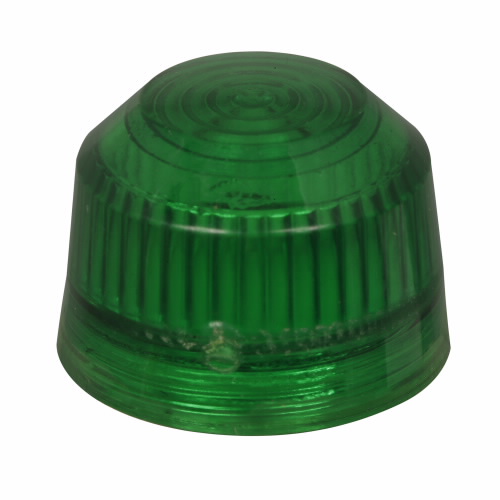 C
C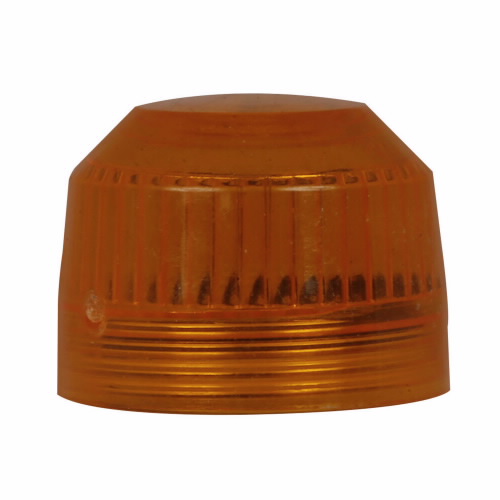 D
D| Style | Model | Height | Type | Lens Material | Price | |
|---|---|---|---|---|---|---|
| A | E29KGG | - | - | - | £161.13 | |
| B | E29KGA | - | - | - | £154.49 | RFQ
|
| B | E29KGC | - | - | - | - | RFQ
|
| C | E29KPY | - | - | - | £89.06 | |
| A | E29KGW | - | - | - | £161.13 | |
| A | E29KGR | - | - | - | £161.13 | |
| B | E29KGB | - | - | - | £161.13 | RFQ
|
| C | E29KPR | - | - | - | - | RFQ
|
| C | E29KPW | - | - | - | - | RFQ
|
| C | E29KPG | - | - | - | - | RFQ
|
| D | E29KPC | 1/2" | Pushbutton Accessory | Plastic | £89.06 | |
| D | E29KP20 | 1/2" | Pushbutton Accessory | Plastic | £89.06 | |
| D | E29KPA | 1/2" | Pushbutton Accessory | Plastic | £89.06 | |
| D | E29KPB | 1/2" | Pushbutton Accessory | Plastic | £85.40 | |
| B | E29KG30 | 1/2" | Pushbutton Accessory | - | £154.49 | RFQ
|
| B | E29KG20 | 1/5" | Pushbutton Accessory | - | £154.49 | RFQ
|
| D | E29KP10 | 3/5" | Pushbutton Accessory | Plastic | - | RFQ
|
| D | E29KP60 | 3/5" | Pushbutton Accessory | Plastic | £89.06 | |
| B | E29KP50 | 5" | Pushbutton Accessory | Plastic | £89.06 | RFQ
|