Sign In

EATON E29 Series Pushbutton Indicating Lights

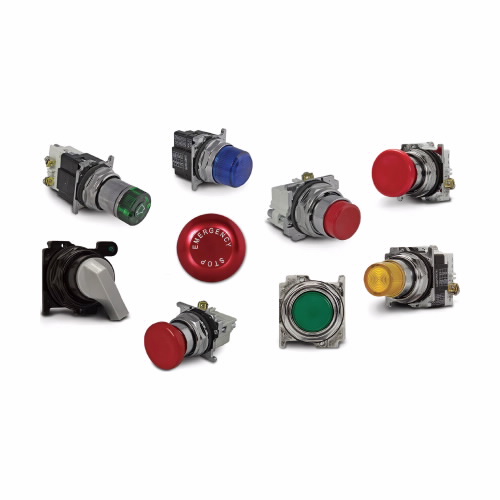
Eaton E29 Series pushbutton indicating lights are designed for applications where durable, reliable and highly visible signalling is required. They are ideally used in conveyor systems, packaging machinery and food & average processing equipment.

Filter
StyleModelPrice
A
E29KG10
£104.08
RFQ
A
E29TB1F
£1,050.92
RFQ
A
E29TA1
£1,050.92
RFQ
B
E29NM1
£636.56
RFQ
A
E29VL1
£636.56
RFQ
A
E29MT1
£944.83
RFQ
A
E29WM1
£796.70
RFQ
A
E29VM1
£636.56
RFQ
A
E29TA1GG
£980.86
RFQ
A
E29TM1
£796.70
RFQ
A
E29TMR
£822.72
RFQ
A
E29TF1
£796.70
RFQ
A
E29TB1
£1,050.92
RFQ
B
E29NL1
£636.56
RFQ
A
E29KM12
£27.43
RFQ
A
E29TA1PB
£936.82
RFQ
B
E29NA1
£846.74
RFQ
B
E29NB1
£846.74
RFQ
B
E29NP1
£846.74
RFQ
B
E29NA1F
£842.74
RFQ
A
E29TG1
£796.70
RFQ
B
E29NH1
£636.56
RFQ
A
E29KM13
£27.43
RFQ
A
E29TH1
£796.70
RFQ
A
E29TA1GA
£980.86
RFQ
A
E29NHY12
£980.86
RFQ
A
E29NY11
£894.79
RFQ
A
E29TL1
£796.70
RFQ
A
E29TA1F
£1,207.05
RFQ
A
E29NHY11
£980.86
RFQ
A
E29VA1
£716.62
RFQ

Working Mechanism

  • The user applies force to the pushbutton operator.
  • The pushbutton operator activates an internal switch mechanism.
  • The switch mechanism sends a signal to the indicating light.
  • The indicating light illuminates, providing visual feedback to the user.
  • The user releases the pushbutton operator, deactivating the switch mechanism and turning off the indicating light.

Features

  • They feature an oil-tight design for leakproof operations.
  • These indicating lights are mechanically interlocked for enhanced user safety.
  • They come with NEMA-rated enclosures to protect against dust, dirt and water.

Standards and Approvals

  • CSA
  • UL

Frequently Asked Questions

How to clean Eaton E29 Series pushbutton indicating lights?

  • Turn off the power supply to the device where the pushbutton is installed to avoid any electrical shock.
  • Disconnect the pushbutton from the power supply.
  • Gently remove the pushbutton and indicate light from the panel or device.
  • Use a soft and dry cloth to clean the surface of the pushbutton & indicating light. Avoid using any abrasive or harsh cleaning products that could damage the switch.
  • Allow the switch to dry completely before reassembling and reconnecting it to the power supply.
  • Finally, test the pushbutton and indicating light to make sure they are working properly.

How to install these indicating lights?

  • Turn off the power supply to the device or control panel where you will be installing the pushbutton.
  • Use a drill or hole saw to create the appropriate size hole in the panel or device.
  • Place the pushbutton through the hole to ensure that the switch and indicator are properly aligned with the front of the panel.
  • Install a mounting adapter or contact block to the back of the pushbutton.
  • Secure the pushbutton in place using the provided locking ring or nut, tightening it by hand or with a wrench.
  • Connect the wiring for the pushbutton according to the wiring diagram provided with the device or control panel.

We are here to help!

Looking for a part not listed here?