
| Height | Type | Lens Material | Price |
|---|---|---|---|
| - | - | - | RFQ |
| - | - | - | RFQ |
| - | - | - | £161.13 |
| - | - | - | £161.13 |
| - | - | - | RFQ |
| - | - | - | £161.13 |
| - | - | - | RFQ |
| - | - | - | RFQ |
| - | - | - | £81.51 |
| - | - | - | £89.06 |
| 5" | Pushbutton Accessory | Plastic | RFQ |
| 1/2" | Pushbutton Accessory | - | RFQ |
| 1/2" | Pushbutton Accessory | Plastic | £89.06 |
| 1/2" | Pushbutton Accessory | Plastic | £89.06 |
| 1/2" | Pushbutton Accessory | Plastic | £89.06 |
| 1/2" | Pushbutton Accessory | Plastic | £85.4 |
| 1/5" | Pushbutton Accessory | - | RFQ |
| 3/5" | Pushbutton Accessory | Plastic | £81.51 |
| 3/5" | Pushbutton Accessory | Plastic | £89.06 |
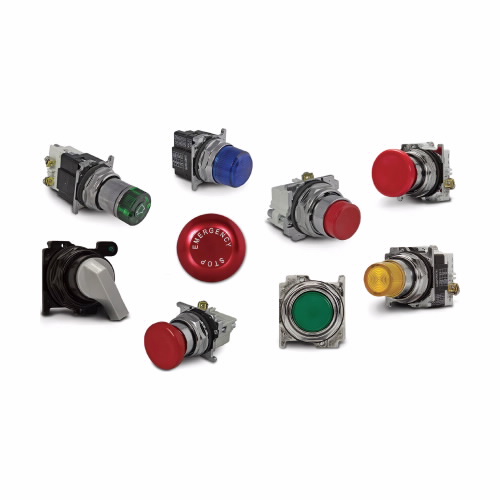
Working Mechanism
- The electrical equipment is designed with a component that produces a signal, such as a switch or a sensor, to indicate its status.
- The signal is then connected to a driver circuit which converts the signal into a form that can drive an indicator light.
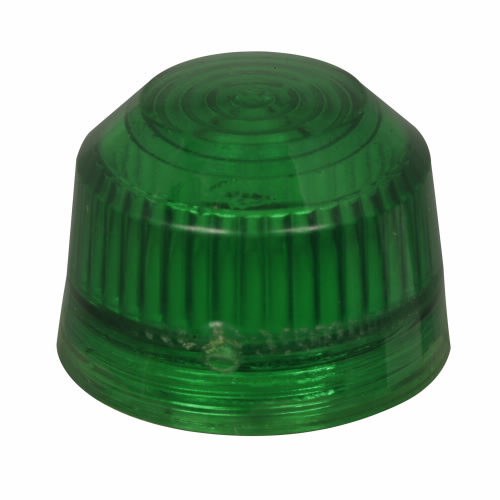
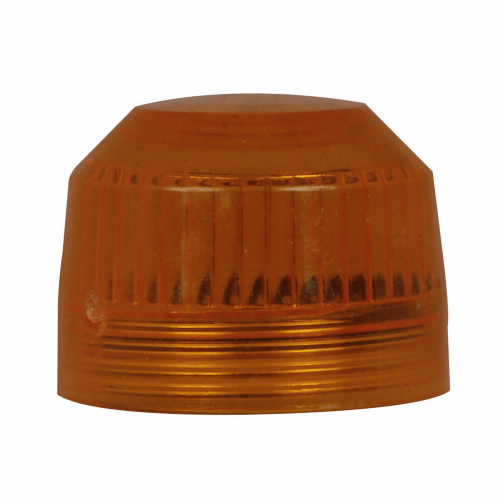
- The indicator light is mounted behind these indicating glass lenses, typically designed with a coloured filter that matches the colour of the light.
- When the electrical equipment is in a particular state, the driver circuit sends a signal to the indicator light to turn on.
- The light emits a beam of light that passes through the coloured filter of these indicating glass lenses, producing a visible indication of the equipment's status.
- The user can then observe the colour and position of the light through the indicating glass lens to determine the state of the electrical equipment.
Features
- They feature heavy-duty oil-tight construction for leakproof operations.
- These pushbutton lenses have a glass bus for reduced distortion.
- They come with a clear actuator for sharp, clear and magnified vision.
Frequently Asked Questions
Q. How to clean Eaton E29 Series pushbutton lenses?
A.
- Turn off the power to the equipment to prevent any electrical hazards while cleaning the lens.
- Use a soft & lint-free cloth or microfiber cloth to wipe the surface of the lens. Avoid using abrasive or harsh cleaning agents that can scratch or damage the lens.
- Dampen the cloth with a small amount of water or a mild cleaning solution to help remove any dirt or debris on the lens.
- Avoid spraying or pouring liquids directly onto the lens, as this can cause moisture to seep into the electrical components behind the lens.
- Gently wipe the lens in a circular motion. Do not apply too much pressure or rub too vigorously to avoid scratching or damaging the lens.
- Once the lens is clean, dry it thoroughly with a clean & dry cloth to prevent any moisture or streaks from forming on the surface.
Q. How to install these lenses?
A.
- Identify the appropriate location for the lens and cut a hole in the panel to match its dimensions.
- Mount the lens on the panel using appropriate hardware.
- Connect the indicator light to the driver circuit using proper wiring connections.
- Connect any additional wiring or components as needed.
- Test the lens and light to verify proper operation.
- Secure the panel or control box in place.
- Follow equipment manufacturer's instructions and safety guidelines.
Explore More
- CABLE PREP
- KEYSHAFT
- SOLA
- AO SMITH WATER HEATER
- ACROVYN
- Service Jacks
- Fire Blankets
- Window Locks and Hardware
- Wire Mesh Cloths
- Brake Lines
- WHIZARD Handguard II Cut Resistant Gloves
- XTEND & CLIMB Step Stools
- KEO Metric Combined Drills And Countersinks, Type R, 60 Degrees Countersink Angle
- ERTALYTE Rod Stock, PET-P
- TSUBAKI AD Inch Series Power-Locks
- REZNOR Motors
- KIMBLE CHASE Black Phenolic Screw Thread Caps, PTFE-Faced Rubber Liners