| Max. Time Setting | Min. Time Setting | Height | Depth | Day Skipper | Operating Temp. | Mounting | Type | Price |
|---|---|---|---|---|---|---|---|---|
| 6.917 Days | - | 4 19/32" | 3 5/16" | Yes | -40°F to +185°F | DIN Rail, Surface | - | £238.56 |
| 6.917 Days | - | 3 51/64" | 2 5/16" | Yes | -40°F to +185°F | Flushed | - | £240.41 |
| 23 hr., 45 min. | 15 min. | 4 4/5" | 3.3" | No | -4°F to +131°F | - | 24 hrs. | RFQ |
| 23 hr., 45 min. | 15 min. | 4 3/5" | 3.3" | No | -40°F to +185°F | - | 24 hrs. | £70.78 |
| 23.75 hrs. | 15 min. | 4 51/64" | 3 5/16" | No | -4°F to +131°F | DIN Rail, Surface | - | £255.22 |
| 23.75 hrs. | 15 min. | 4 19/32" | 3 5/16" | No | -40°F to +185°F | DIN Rail, Surface | - | £143.37 |
| 23.75 hrs. | 15 min. | 4 19/32" | 3 5/16" | No | -40°F to +185°F | DIN Rail, Surface | - | £142.96 |
| 23.75 hrs. | 15 min. | 3 51/64" | 2 5/16" | No | - | Flush | - | £238.67 |
| 23.75 hrs. | 15 min. | 3 51/64" | 2 5/16" | No | -40°F to +185°F | Flush | - | £143.01 |
| 6 Days, 22 hrs. | 2 hr. | 4 3/5" | 3.3" | Yes | -4°F to +131°F | - | 7-Day | £204.81 |
| 6 Days, 22 hrs. | 2 hr. | 4 3/5" | 3.3" | Yes | -40°F to +185°F | - | 7-Day | RFQ |


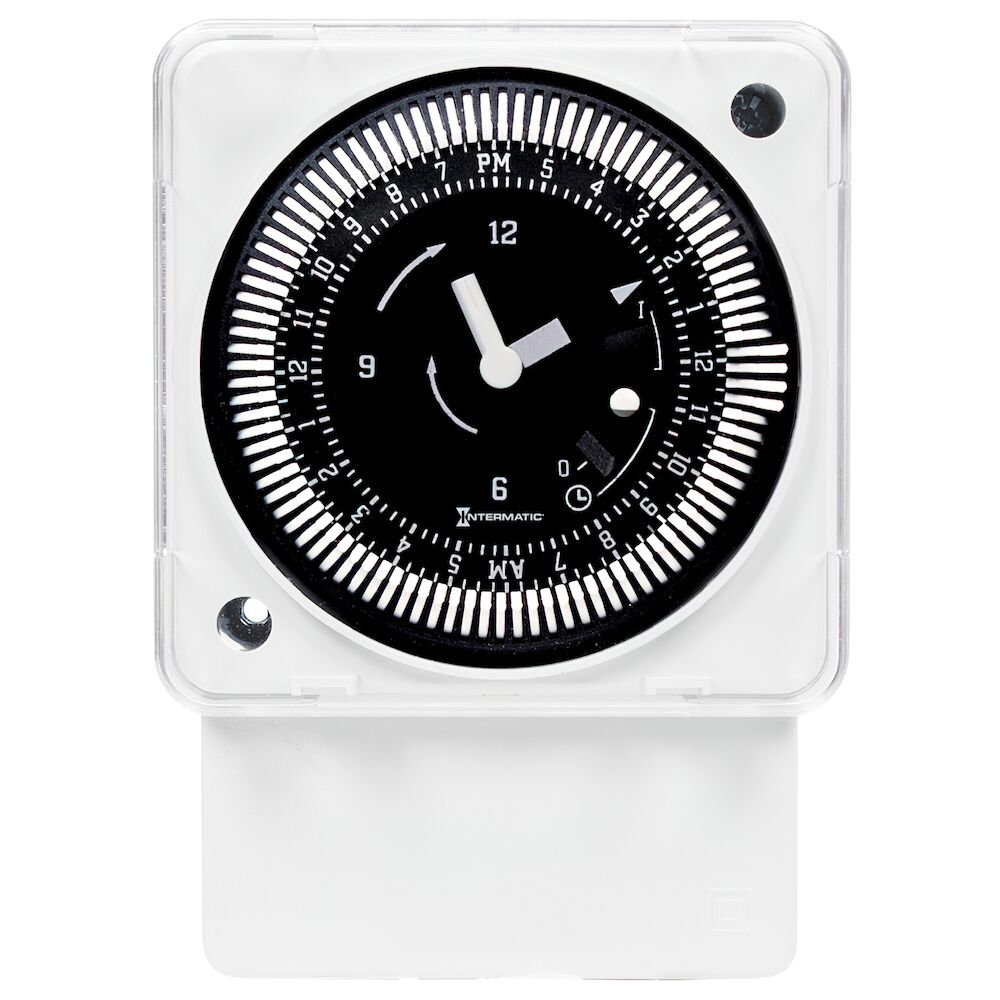
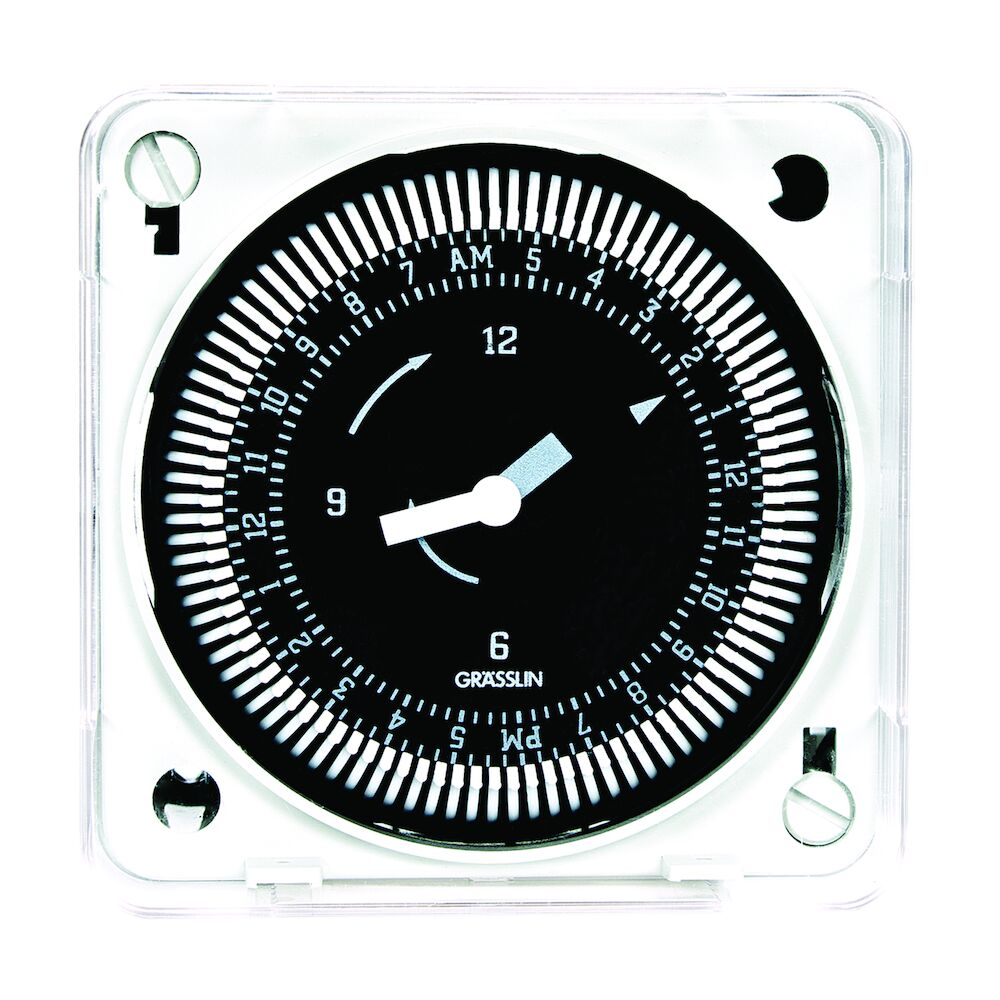
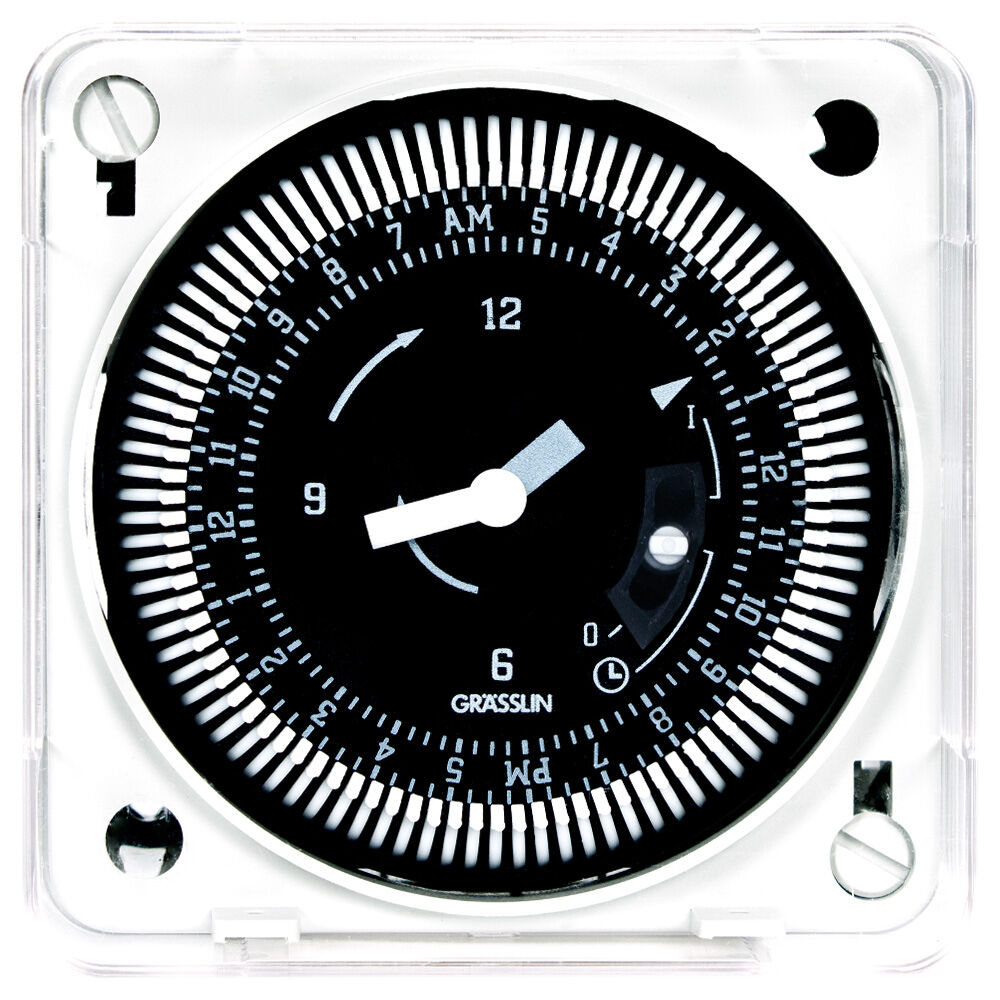

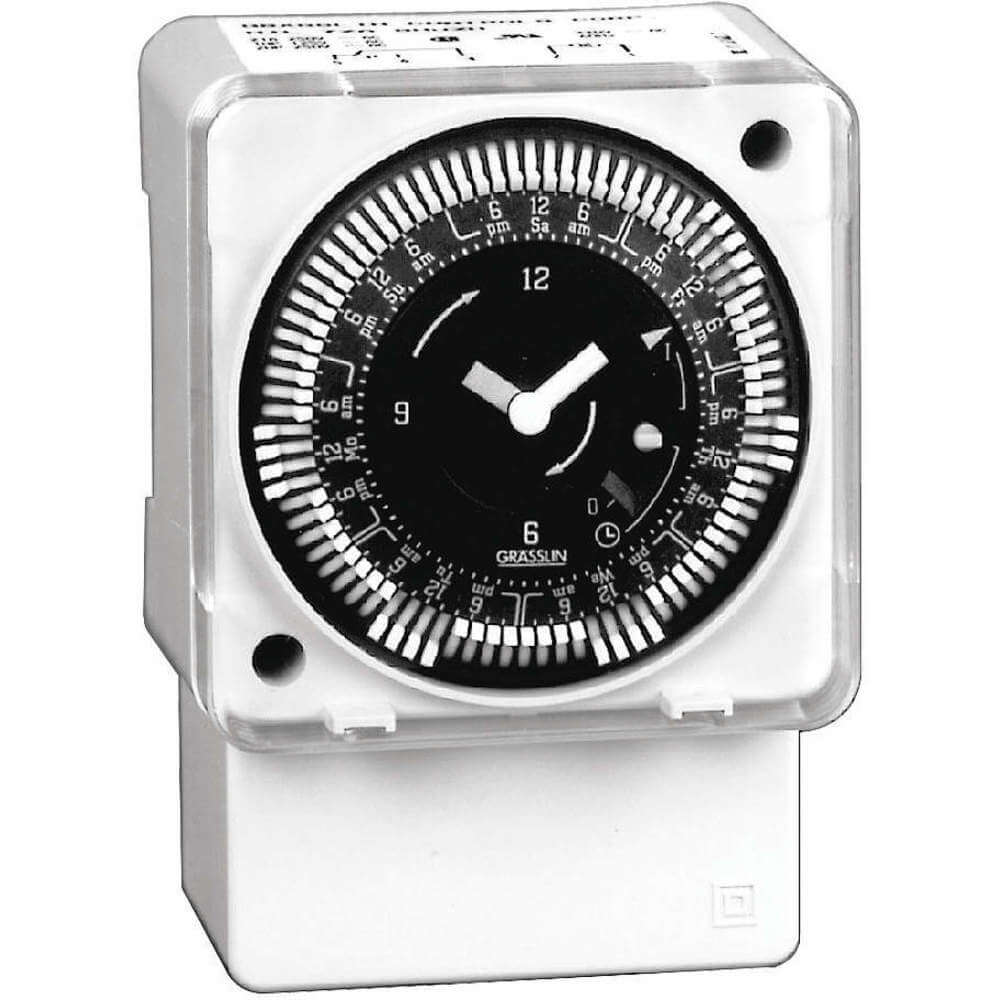
Features
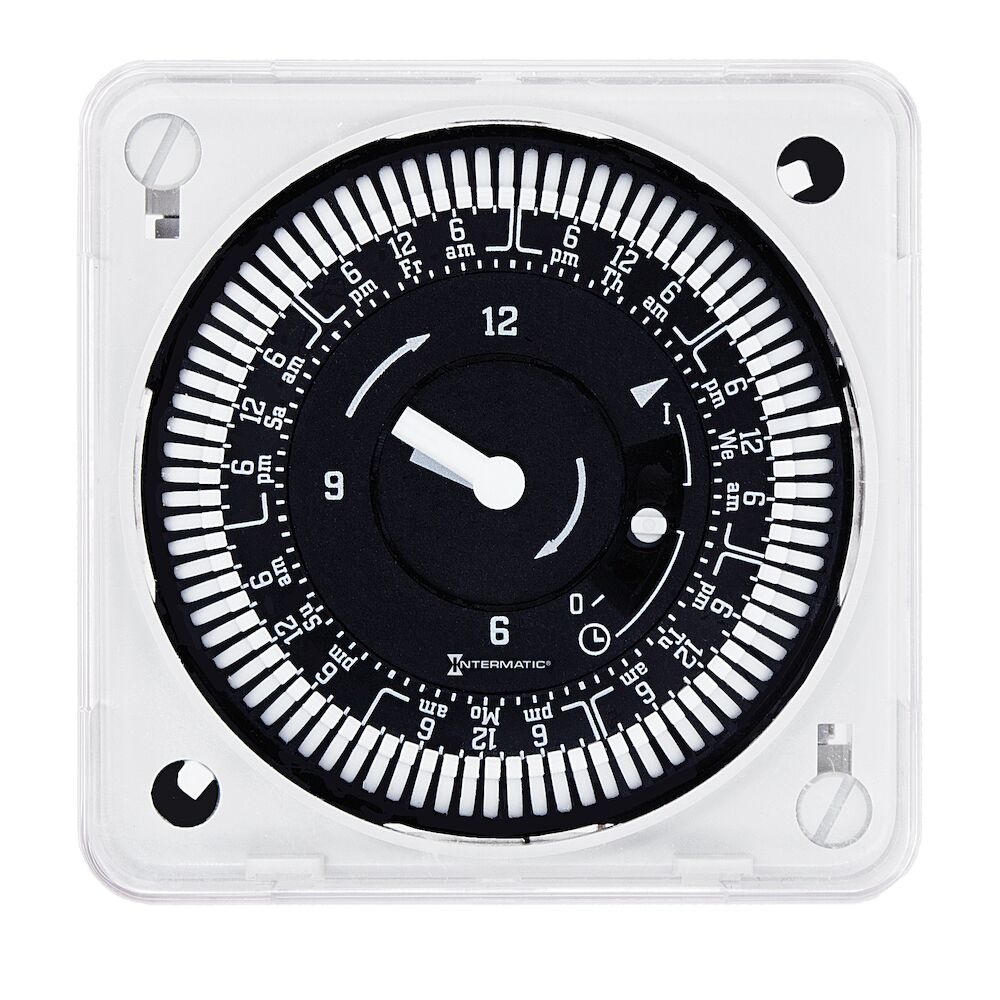
- They are equipped with captive trippers permitting 15-minute intervals on 24-hour models and 2-hour intervals on 7-day models.
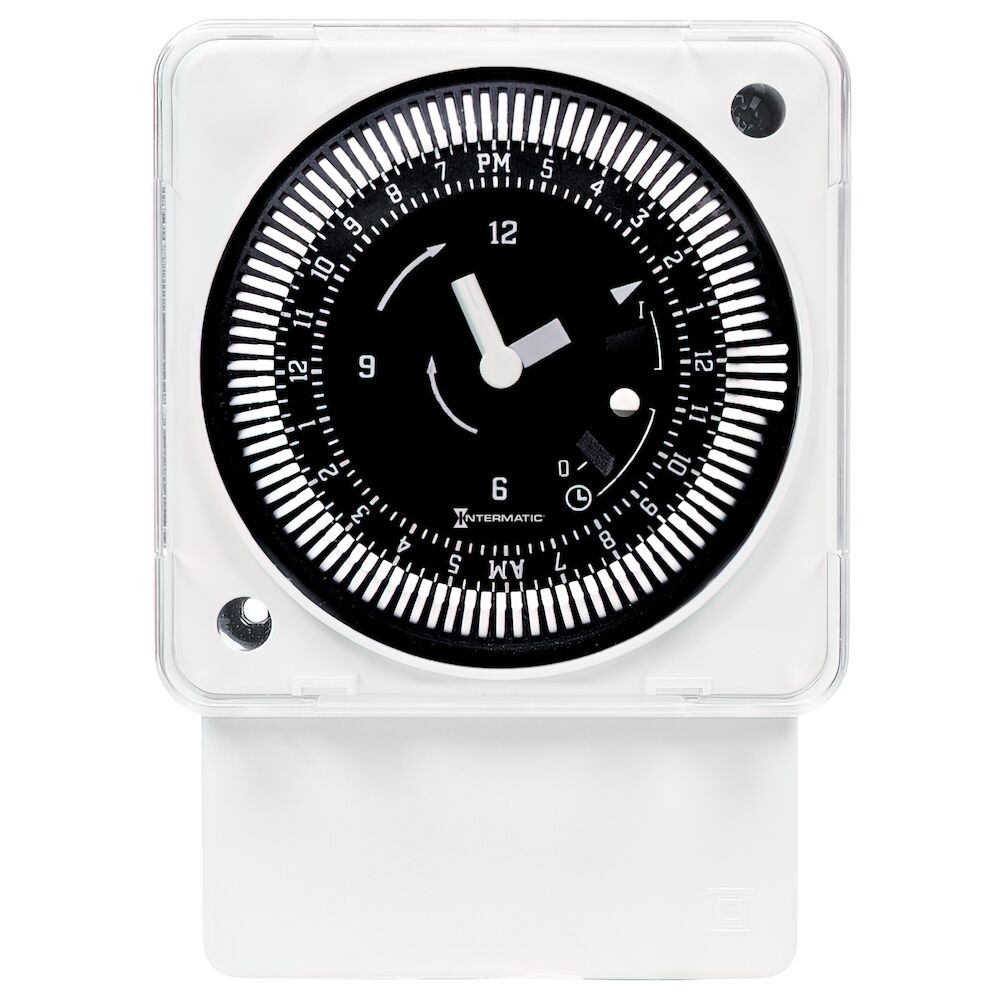
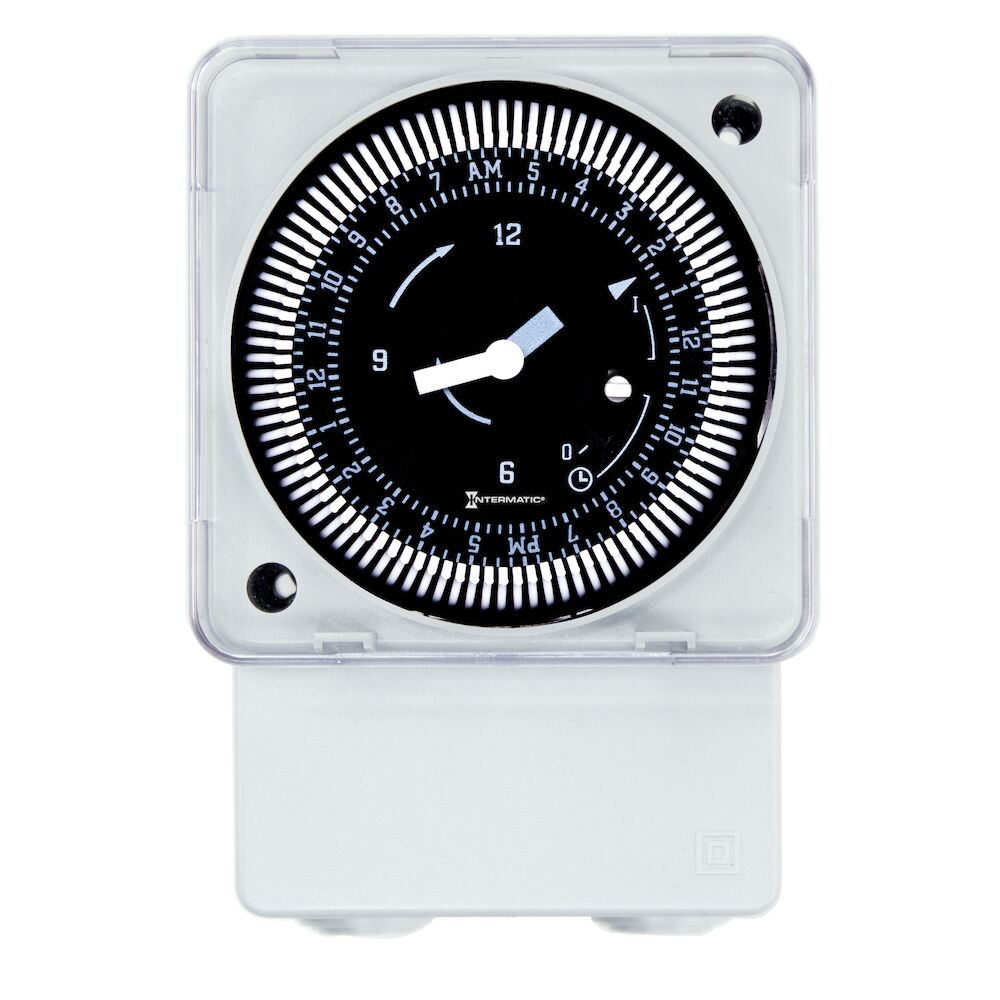
- They feature a clock-type dial face that is easy to set and a manual override switch (with OFF / AUTO / ON features) to control the timer in case of power failure.
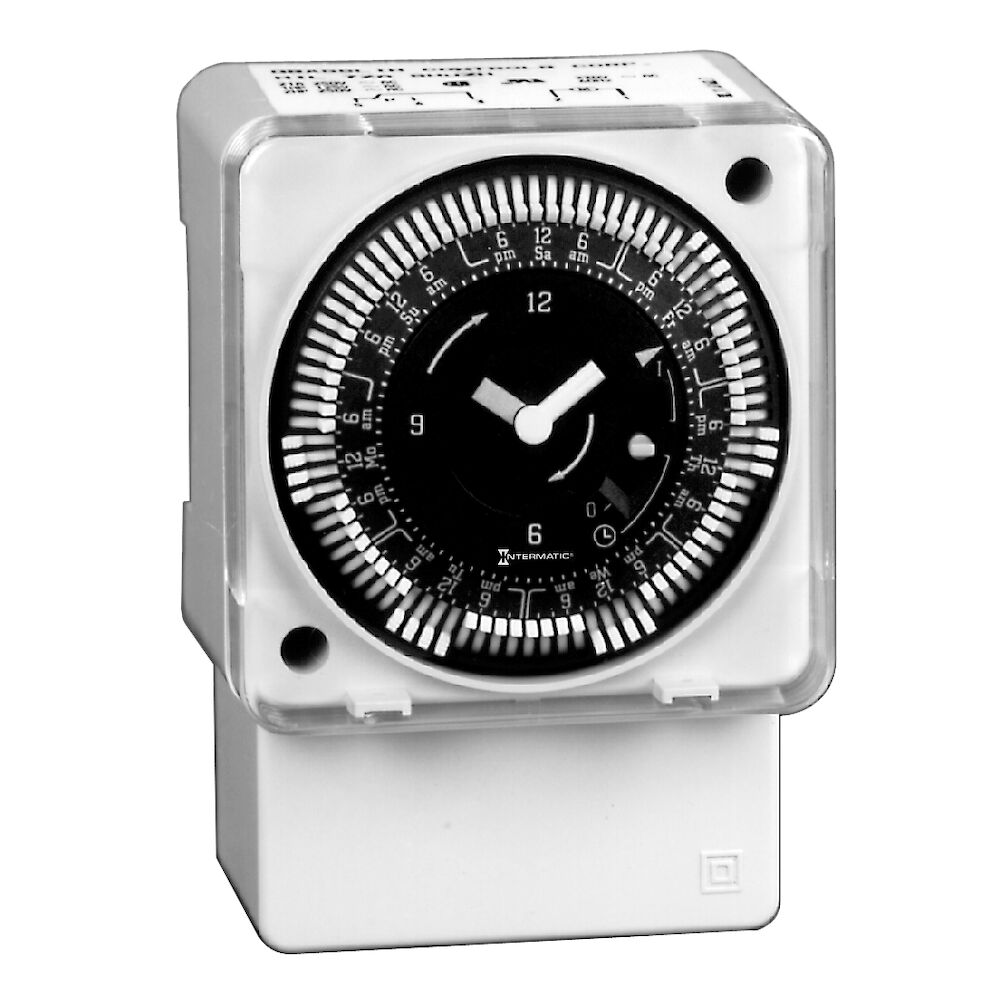
- These electromechanical time switches feature a synchronous drive with self-recharging battery backup (up to 72 hours) and are available in surface / DIN rail / flush mounting variants for quick & secure installation.
- MIL72 Series timers are completely enclosed in plastic housing and include a terminal cover & sub-base for installation and hard wiring.
- They are ideal for single-phase applications, such as HVACR, pumps, motors, fan controls, access controls, agricultural facilities and general-purpose electrical circuits.
Frequently Asked Questions
Q. How to surface mount the timer?
A.
- Remove the dust-proof cover and loosen two screws on opposite corners.
- Remove the housing that encases the time switch and the terminal cover away from the base.
- Place a screw through pre-set holes in the base and screw it to the back of the panel or wall.
- Replace the terminal cover and push the timer firmly onto the plug-in base.
- Attach the housing and secure it with screws.
Q. What are captive trippers?
A. Captive trippers permit timers to control activities that must be performed at regular intervals.
Explore More
- CEP
- INCOM MANUFACTURING
- KEYSHAFT
- SMITH PERFORMANCE SPRAYERS
- KLINGERSIL C
- Adhesive Anchor Accessories
- Carbon Monoxide and Smoke Detectors
- Oil Removal Filters
- Felt Sheets and Strips
- Sequencers
- AUTOQUIP Super Titan Scissor Lift Tables
- ANSELL 11-727 Hyflex Ultralight Abrasion Resistant Gloves
- CHICAGO PNEUMATIC CP74 Series Die Grinders
- KEO Combined Drills And Countersinks, Plain Type, 60 Degrees Countersink Angle
- ANVIL AS665 Series Four Hole Double Corner Connectors
- GOODYEAR ENGINEERED PRODUCTS 85mm Wide Hawk Pd Synchronous Drive Gearbelt
- AIRMASTER FAN I Beam Mount Heavy Duty Air Circulators
- CEMENTEX USA Gear Wrenches
- MARTIN SPROCKET Mine Duty MXT40 Bushed Drum Pulleys
- BALDWIN ESTATE Round Knobs With Traditional Square Roses